
Project Management
Sprint Retrospective Template (Start, Stop, Continue)
By RP Hobbyist · Updated
A sprint retrospective is the Scrum meeting at the end of each sprint where the team looks at how it worked and agrees on improvements for the next one. Start, Stop, Continue is one of the simplest and most popular retro formats: the team lists what it should start doing, what it should stop doing, and what is working well and should continue.
This template gives you the three branches with example items under each. Collect ideas from everyone, group similar ones, then pick one or two to commit to as action items for the next sprint.
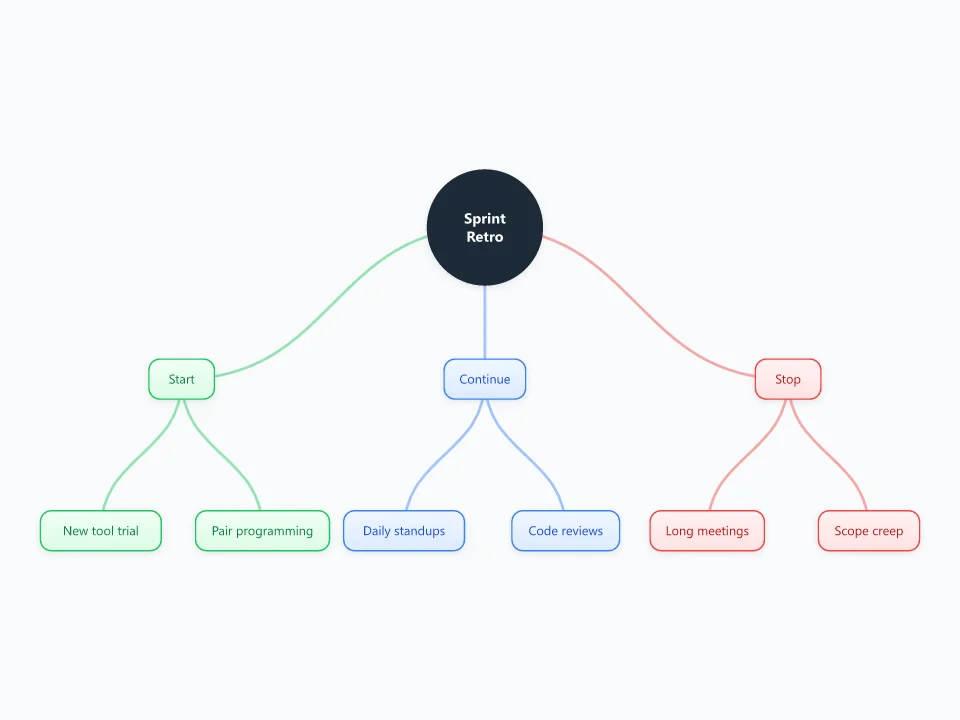
It opens as a new map with 10 topics already filled in. You don't need an account.
Open in the editorWhen to use a Sprint Retrospective
- End-of-sprint retrospectives for Scrum and agile teams
- Project or release post-mortems
- Quick team health checks after a busy period
- Personal weekly reviews
What goes in each branch
- Start
- New practices, tools or habits the team wants to try in the next sprint.
- Continue
- What worked well and should be kept, so good practices aren't lost.
- Stop
- Things that waste time, cause friction, or no longer add value.
Example: A web team after a two-week sprint
- Start: pair up on complex tickets; write acceptance criteria before estimating
- Continue: 15-minute stand-ups; code reviews within a day
- Stop: adding work mid-sprint without re-planning; meetings without an agenda
- Action items: the Product Owner guards sprint scope; the team lead adds an agenda template
Tips
- Have everyone add items silently first so the loudest voices don't dominate.
- Group duplicates, then vote on the one or two most valuable changes.
- Turn each chosen item into an action with an owner, and check it at the next retro.
- Keep past retro maps so you can see whether improvements actually stuck.
Using this template in Neuron Mapping
- Click Open in the editor. The template opens as a new map.
- Select a topic and press Tab to add a branch under it, or double-click a topic to change its text.
- Select a topic to change its color and shape, or add notes to it in Markdown.
- When you're done, export the map as a PDF or PNG, or save it to keep editing later.
Everything runs locally in your browser: your map is saved on your device, works offline, and can be exported as PDF, PNG or an editable .nmm file.