
Quick Diagrams
Timeline Template
By RP Hobbyist · Updated
A timeline places events in chronological order so you can see what happens when, how long the gaps are, and how one step leads to the next. Timelines are used for project schedules and roadmaps, for history and study notes, and for telling the story of a company, a product or a person.
This template is a chain of four milestones, each following the previous one. Rename each milestone with a date and a short label, add details such as owners or deliverables as child nodes, and extend the chain for as many stages as you need.
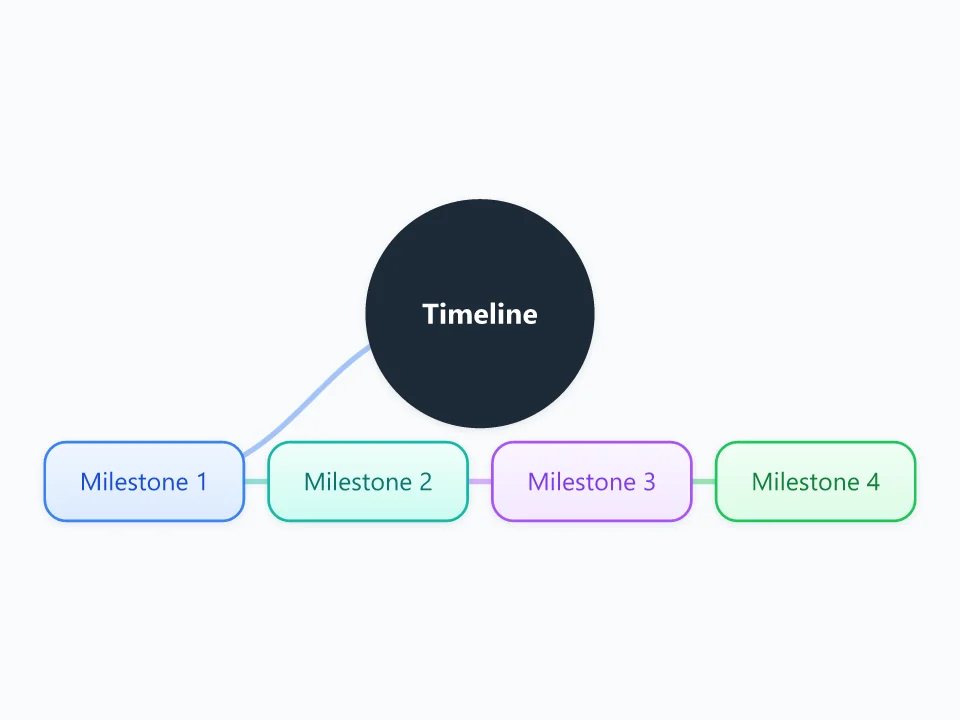
It opens as a new map with 5 topics already filled in. You don't need an account.
Open in the editorWhen to use a Timeline
- Planning project phases and milestones
- Building a product roadmap to share with a team
- Summarizing historical events for study or teaching
- Showing a company's or a person's story in order
What goes in each branch
- Timeline
- The root: the subject or project the timeline covers, with its overall time span.
- Milestone 1 to 4
- Events or phases in order. Start each label with the date or period ("Q1 2027", "1969") and keep the description short; put details in child nodes.
Example: A four-month plan to launch a small online course
- Month 1: outline the course and record a sample lesson
- Month 2: record all lessons and write the worksheets
- Month 3: build the course page and invite beta students
- Month 4: act on feedback, launch publicly and announce it
Tips
- Use the same date format on every milestone.
- Mark fixed deadlines in a different color from flexible target dates.
- Note dependencies, so it is clear which milestone must finish first.
- For long projects, keep one high-level timeline and make a more detailed map for each phase.
Using this template in Neuron Mapping
- Click Open in the editor. The template opens as a new map.
- Select a topic and press Tab to add a branch under it, or double-click a topic to change its text.
- Select a topic to change its color and shape, or add notes to it in Markdown.
- When you're done, export the map as a PDF or PNG, or save it to keep editing later.
Everything runs locally in your browser: your map is saved on your device, works offline, and can be exported as PDF, PNG or an editable .nmm file.