
Quick Diagrams
Simple Flowchart Template
By RP Hobbyist · Updated
A flowchart shows the steps of a process in order, with arrows connecting each step to the next. Flowcharts use a few basic elements: start and end points, process steps, and decision points where the flow splits depending on a yes or no answer. They are one of the quickest ways to explain how something works or to spot where a process goes wrong.
This template is the smallest useful flowchart: a Start node, one Decision, a Yes path and a No path, each leading to an End. Add process steps between them, chain more decisions, and rename the paths to describe what actually happens.
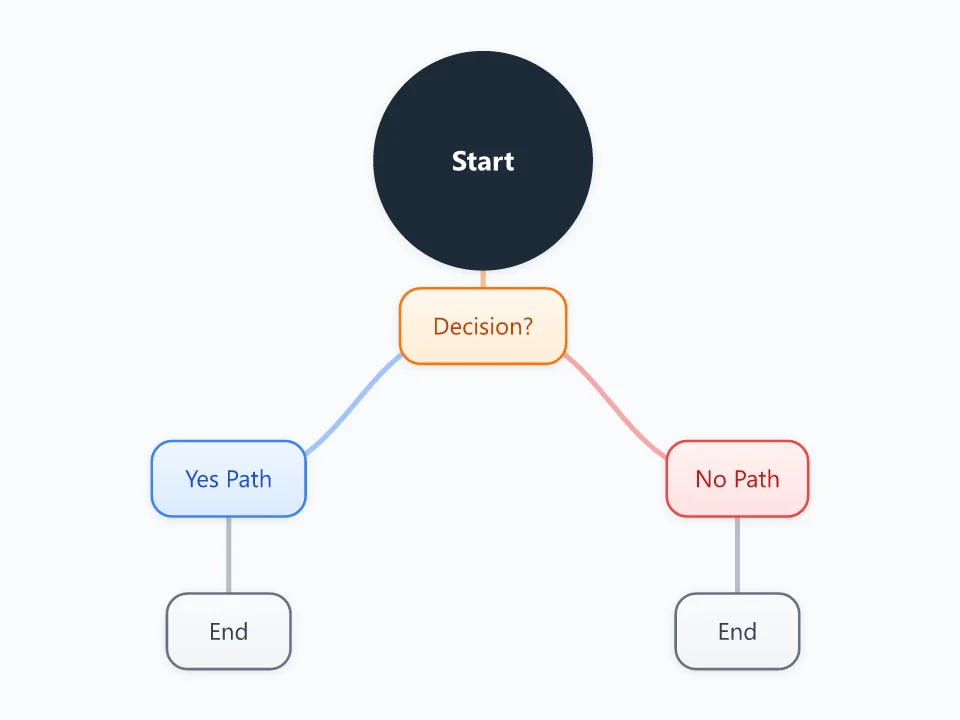
It opens as a new map with 6 topics already filled in. You don't need an account.
Open in the editorWhen to use a Simple Flowchart
- Documenting a process so someone else can follow it
- Explaining a rule or policy that has conditions
- Planning the logic of a program, form or automation
- Finding redundant steps or bottlenecks in a workflow
What goes in each branch
- Start
- Where the process begins, usually a trigger such as "Order received" or "Customer calls".
- Decision?
- A question with clear answers, such as "Is the item in stock?". Each answer becomes its own path.
- Yes Path / No Path
- The steps that follow each answer. Add process nodes here, and more decisions if a path splits again.
- End
- Where each path finishes. Different ends can describe different outcomes, such as "Shipped" or "Back-ordered".
Example: Handling a customer refund request
- Start: refund request received
- Decision: was the purchase made less than 30 days ago?
- Yes path: approve the refund and send a confirmation email. End: refund issued
- No path: offer store credit. End: request closed
Tips
- Keep each node to one action or question, written as a short verb phrase.
- Make sure every decision has an answer for every case, so no path dead-ends.
- Keep the main flow running top to bottom or left to right so it reads naturally.
- When a flowchart gets large, move sub-processes into their own maps.
Using this template in Neuron Mapping
- Click Open in the editor. The template opens as a new map.
- Select a topic and press Tab to add a branch under it, or double-click a topic to change its text.
- Select a topic to change its color and shape, or add notes to it in Markdown.
- When you're done, export the map as a PDF or PNG, or save it to keep editing later.
Everything runs locally in your browser: your map is saved on your device, works offline, and can be exported as PDF, PNG or an editable .nmm file.