
Planning & Strategy
Decision Tree Mind Map Template
By RP Hobbyist · Updated
A decision tree lays out a choice as a branching diagram: a decision at the root, the options or yes/no answers as branches, and the resulting outcomes at the ends. Seeing every path at once makes it easier to compare consequences, spot missing options and explain your reasoning to others.
This template starts with one decision, a Yes and a No branch, and two outcomes under each. Extend it with further questions, add costs, probabilities or notes to each outcome, and use colors to highlight the path you choose.
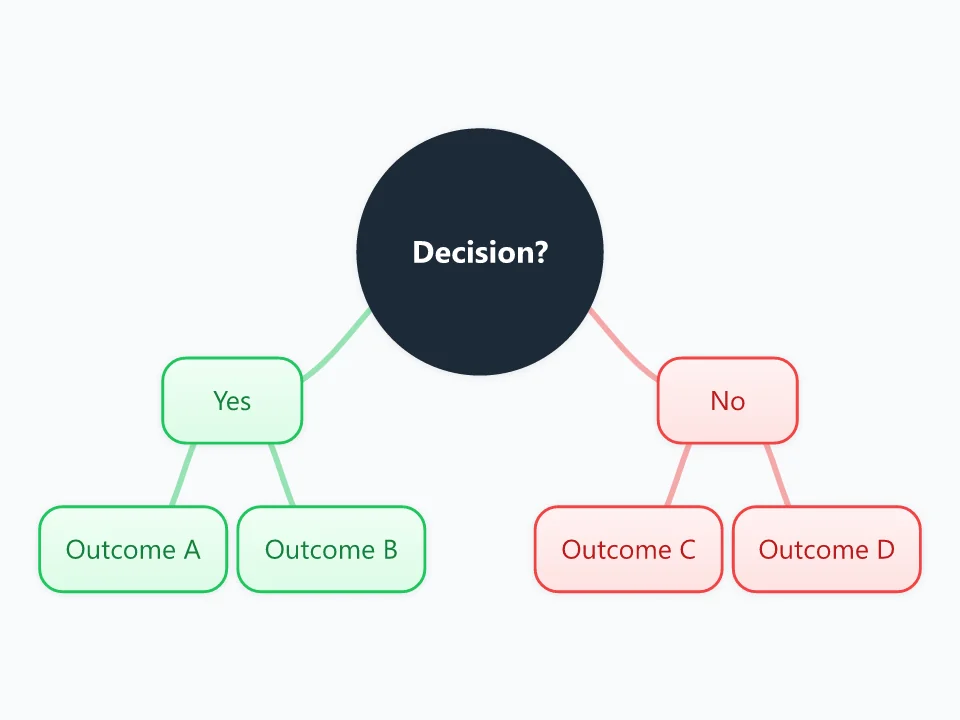
It opens as a new map with 7 topics already filled in. You don't need an account.
Open in the editorWhen to use a Decision Tree
- Choosing between options with different consequences
- Documenting troubleshooting steps or support scripts
- Explaining a policy or eligibility rule as a series of questions
- Comparing risks and payoffs before a business or project decision
What goes in each branch
- Decision?
- The question to answer, written so it has clear answers (yes/no or a set of options).
- Yes / No
- Each branch is one answer or option. Add more branches if there are more than two choices.
- Outcome A to D
- The result of following that path. Add details such as cost, time, risk or probability as child nodes.
Example: Should we build a feature in-house?
- Yes, Outcome A: full control, but 8 weeks of developer time
- Yes, Outcome B: the mobile release is delayed
- No, Outcome C: buy a plugin for $300 a year
- No, Outcome D: limited customization, but available this week
Tips
- Keep each question to a single decision so every branch is unambiguous.
- Put numbers on outcomes (cost, time, probability) where you can; they make branches comparable.
- Prune branches that are clearly unacceptable to keep the tree readable.
- Highlight the chosen path in a strong color before you export it for stakeholders.
Using this template in Neuron Mapping
- Click Open in the editor. The template opens as a new map.
- Select a topic and press Tab to add a branch under it, or double-click a topic to change its text.
- Select a topic to change its color and shape, or add notes to it in Markdown.
- When you're done, export the map as a PDF or PNG, or save it to keep editing later.
Everything runs locally in your browser: your map is saved on your device, works offline, and can be exported as PDF, PNG or an editable .nmm file.